Building a Raspberry Pi NAS: Hardware
The Raspberry Pi has been a huge hit since its launch in 2012, grabbing the attention of hobbyists and professionals alike. The option to buy a fully functional, credit-card sized computer for less than £30 has opened up a slew of possibilities for experimentation and creativity, regardless of budget. I’d been meaning to pick one up for a while, and finally got the push I needed when I started doing some freelance web work and needed a backup system for my client sites and databases. Reading Scott Hanselman’s post regarding the Computer Backup Rule of Three simply drove home the point. I also fancied getting all my media files off my hard drive and into a centralised location on my home network where they could be backed up, easily accessible, and viewed through my TV. Given the option of buying a pre-made NAS box from Amazon, or constructing my own and getting my teeth into that tasty Raspberry Pi, there was no choice to be made!
I already use Skydrive to backup my important documents, but wanted to have something I could automate without having to have a client PC logged on in order to back up my server. So after some reading, I decided to go for the following setup:
- Raspberry Pi Model B
- 2 x 1TB External USB HDD
- Powered USB Hub
I felt that this would give me enough storage space for all my media and backups, as well as the ability to easily add other devices in future via the USB hub, and easily access the Pi via my home WiFi.
Raspberry Pi Model B
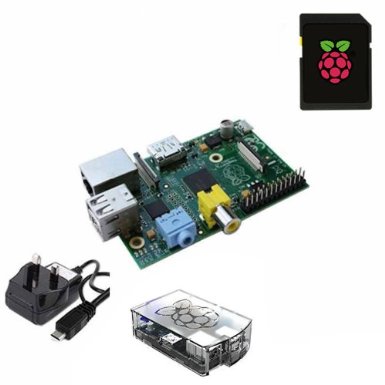
The basic Raspberry Pi (Model A) is sufficient for a number of common purposes, but given I was planning on creating a NAS/media centre/backup server, it made sense to go for the more expensive Model B. The Raspberry Pi Model B takes the basic model and adds an extra USB 2.0 port, an Ethernet port, and double the RAM, bringing it up to 512MB total. You can purchase the Pi Model B on its own for about £30, or as I did, you can purchase a starter kit for about £40/£45, which adds an SD card (with various OS options pre-installed), case and power supply.

Raspberry Pi Model B Starter Kit, including: Pi, SD card, case and power supply
You can get the Raspberry Pi Model B starter kit on Amazon.
External USB HDD x 2
Really anything will do here, and it totally depends on how much storage you need, what your budget is, and how many drives you want to set up. I decided to go for two HDDs so that I can have one to store my media files and backups, and the other as a mirror image, in case something should happen to the first. I went for the Western Digital My Passport drive, due to favourable reviews and a reasonable-ish price, given WD’s positive reputation for storage solutions. It’s also USB 3.0 which, although not useful with the Raspberry Pi’s USB 2.0 ports, may be of use in future. There are much cheaper drives available, as well as much more expensive, so it’s all down to your preference here.
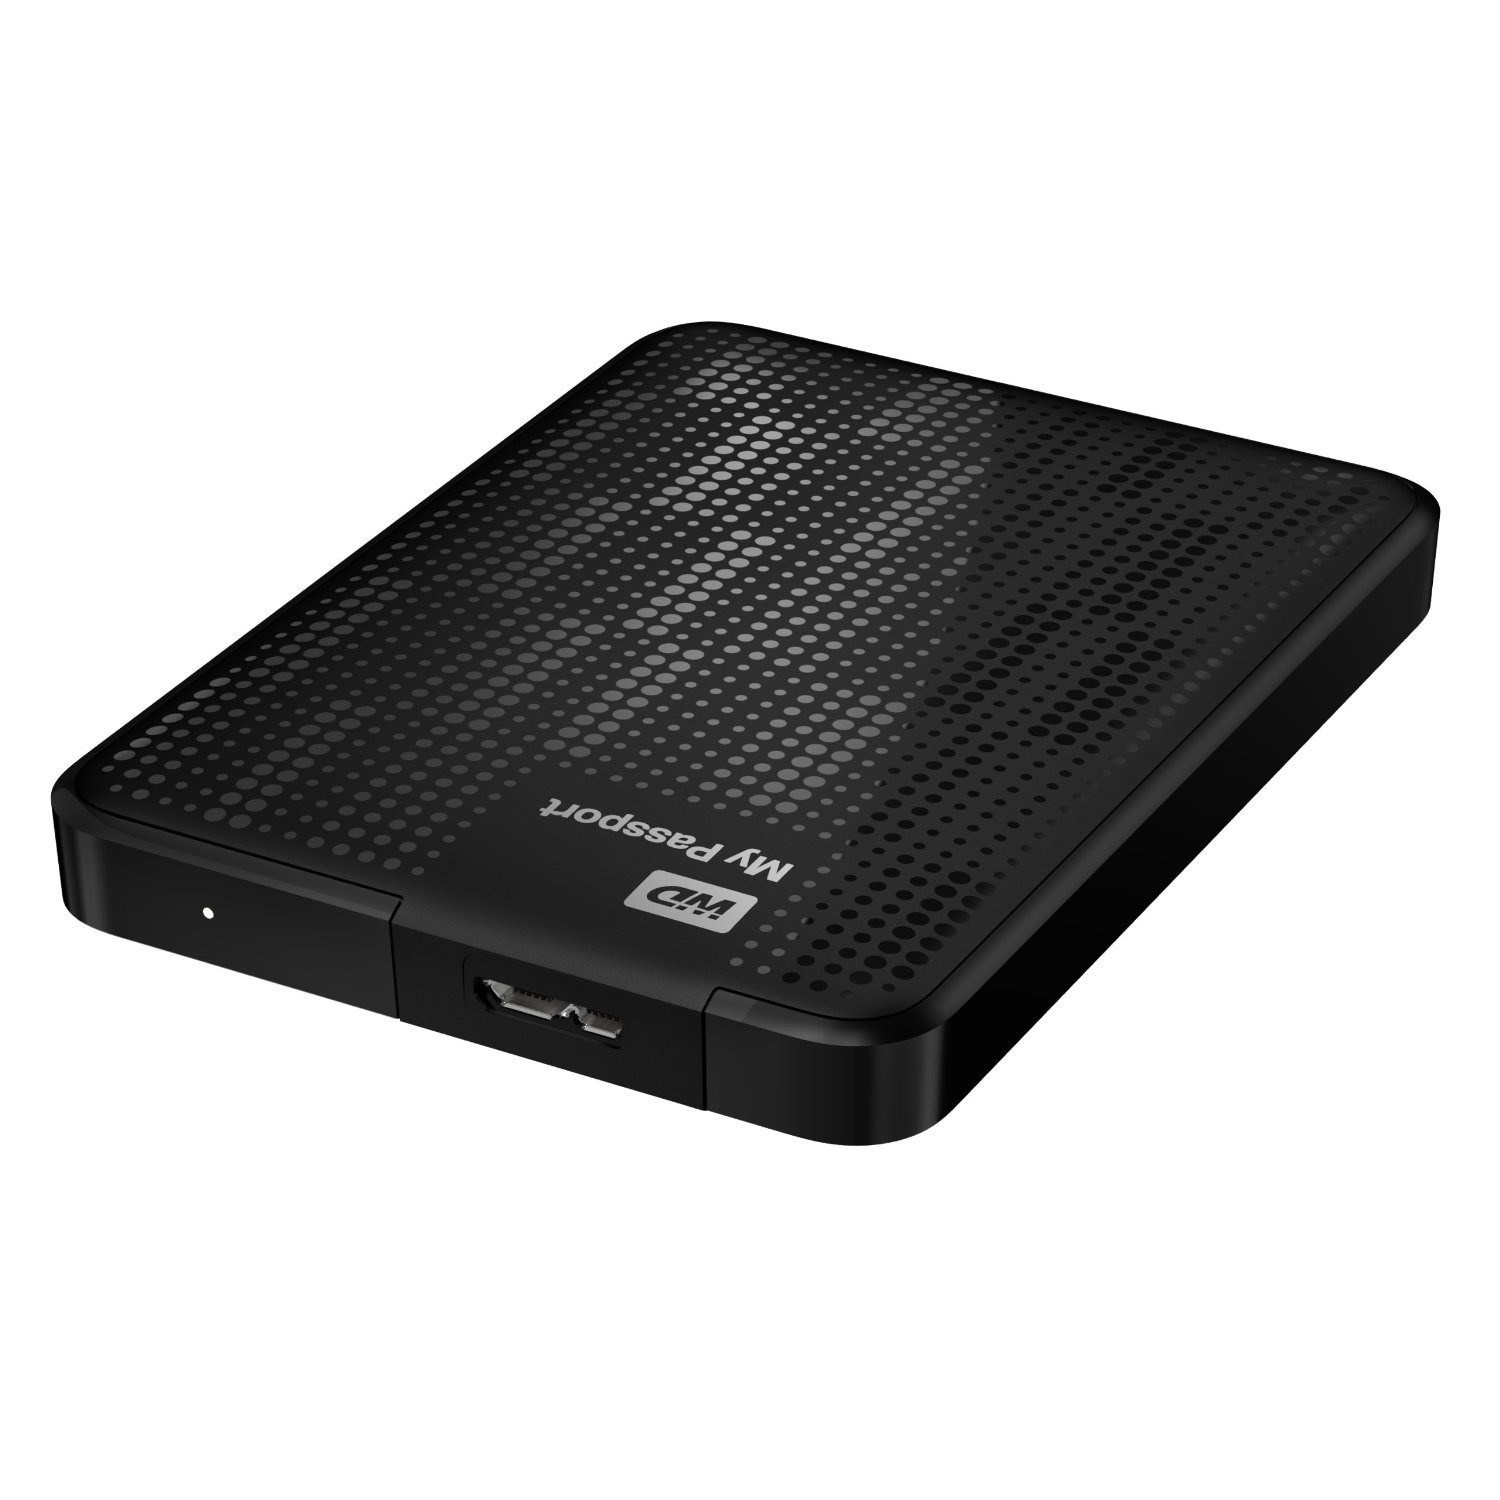
Western Digital My Passport 1TB External HDD works well with the Raspberry Pi
Again, here’s a link to the Western Digital My Passport 1TB External HDD on Amazon.
External Powered USB Hub
The Raspberry Pi Model B only has two USB ports, so in order to attach my new HDDs, as well as anything else I might want to use with the Raspberry Pi (mouse, keyboard, WiFi adaptor), I needed some additional ports. As well as adding more ports, the power output on the Raspberry Pi is limited, so by opting for an independently powered USB hub I can shift the power demand away from the computer and onto the mains. I went for a D-Link 7-port USB 2.0 hub, again based on positive reviews and reasonable price. You could spend a bit more and get a USB 3.0 hub, but since the Pi itself is only USB 2.0, I didn’t see much point.
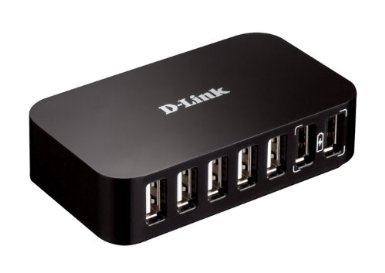
The D-Link External Powered USB hub provides 7 USB 2.0 ports, allowing massive customisation options for the Pi
The D-Link 7-port USB 2.0 Hub is also available on Amazon.
Optional extras
As well as the main components of the system, you may need a few more bits and pieces, depending on your home network setup, and how you plan on using the device. You can get by without a mouse and keyboard by pre-installing the OS on the SD card via your PC and using PuTTY to access the Raspberry Pi. There’s a great article here on how to configure a headless Raspberry Pi. All you need is an Ethernet cable.
For my personal setup, I already had an old wireless mouse handy, which was good for basic tasks. I wanted to connect the Pi directly to my TV, so needed an extra HDMI cable. Also, due to my home network configuration, I decided to buy a WiFi adaptor for the Pi, rather than use Ethernet.
I’ve also bought a larger SD card than the 2GB one that came with the Starter Kit, due to the fact that it doesn’t have enough space to install both Raspbian and Raspbmc.
Summary
I’ve outlined here the components that I bought in order to build my Raspberry Pi based NAS/media centre. The hardware you go for is completely up to your needs, but I found the above setup to be reasonably priced in comparison to a pre-made NAS option, and infinitely more customisable. The only thing missing from my shopping list above is some kind of enclosure/case for the assembled components. The best thing about the Raspberry Pi is that due to its small size, you can easily build a custom enclosure out of many common items. Of course, you don’t need one, but rather than leave all the wires lying around the ground, I decided to build my own.
But I’ll cover that in my next post. In the meantime, I’d be interested to hear about other people’s Raspberry Pi experiences. What have you used your Pi for? What hardware have you gone with? What were your experiences with your Pi setup? Let me know in the comments below.