Building a Raspberry Pi NAS: Enclosure

Lately I’ve been experimenting with the Raspberry Pi, the credit-card sized budget computer that took the world by storm back in 2012. I posted the other day about the hardware I’m using to create my own, Raspberry Pi based NAS (Network Attached Storage) slash backup server slash media centre. I mentioned at the end of that article about buying or creating an enclosure to tidy up the Pi-based solution, as well as keep all the components safe and together. It’s not entirely necessary, but if you have a Raspberry Pi, one or two external HDDs, a USB hub and HDMI/Ethernet cables, chances are it’ll be messy and you’ll want to build or buy something to keep everything together all neat and tidy. There are lots of possibilities out there, some you can buy, others you can make. There are lots of cases for the Pi itself, but I needed one to match my particular setup and contain the hard drives, USB hub, and all the related cabling as well.
Community Examples
There are some amazingly crafted examples of Raspberry Pi cases and enclosures, ranging from the beautiful to the downright quirky. If you’ve got the tools and access to the materials, the only limit is your imagination and hand-eye co-ordination. Makeuseof has loads of articles dedicated to the Raspberry Pi, and is a fantastic resource for both information and inspiration. Their articles: “The 8 Most Beautiful Raspberry Pi Cases” and “8 Interesting DIY Raspberry Pi Ideas” showcase some of the best DIY Raspberry Pi cases out there, and give some real inspiration. If you’re just needing a case for the Raspberry Pi itself, this tutorial for building a Lego one is fantastic.
It was the mention of a Lego case that got me thinking, something that has been widely used for building cases for the Raspberry Pi, and something that I just happened to have lying around in the house. My nephews have a nice handy Lego Police station that spends most of the time up in the loft, so I decided to take a look at a few articles and see if I could make something of the idea. However, I needed to build an entire enclosure for the Pi, two external HDDs, a USB hub, and all the related cables. I’ve always believed that the best way to learn is by doing, so rather than plan it out, I decided to get cracking.
The finished Lego NAS enclosure
I was slightly limited in my build by the pieces that I had available, given that I was using parts from only one big Lego kit (and one or two small ones), but I was determined to get it done, and had a rough idea in my mind of what I was looking to achieve. The gallery below shows the finished result, with annotations for the main areas of the enclosure:
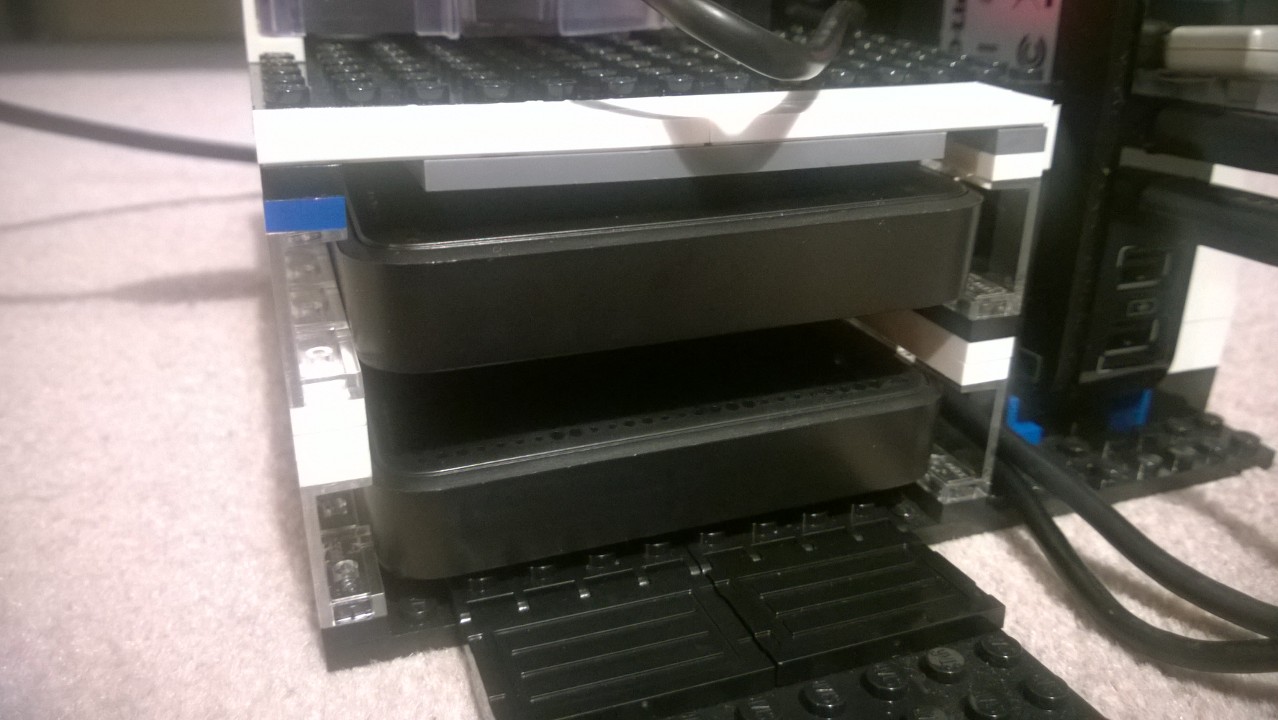
The HDD bays allow the drives to slide out the front, and the cables to be tucked out the back.
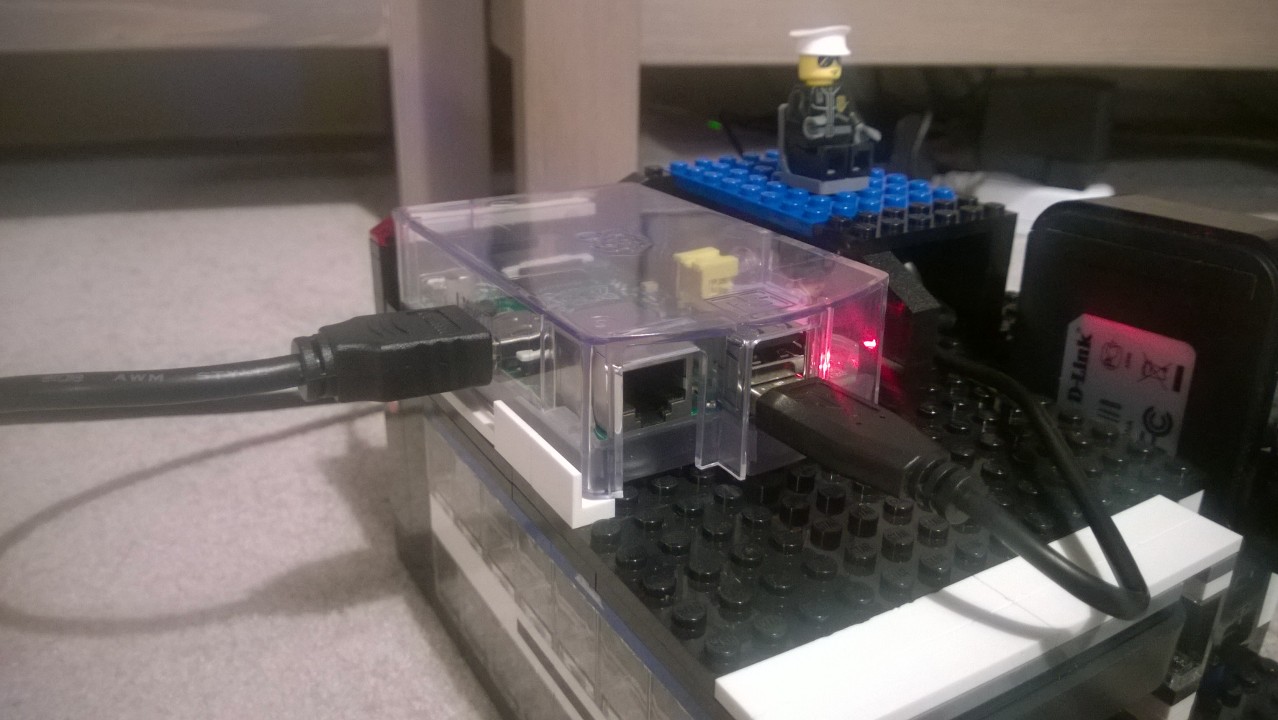
The Raspberry Pi (in its case from the Starter Kit) sits snugly on top.
The D-Link USB Hub stands upright in an ident, allowing easy access to the 7 USB ports. The HDD cables run through a gap beside this to the front.
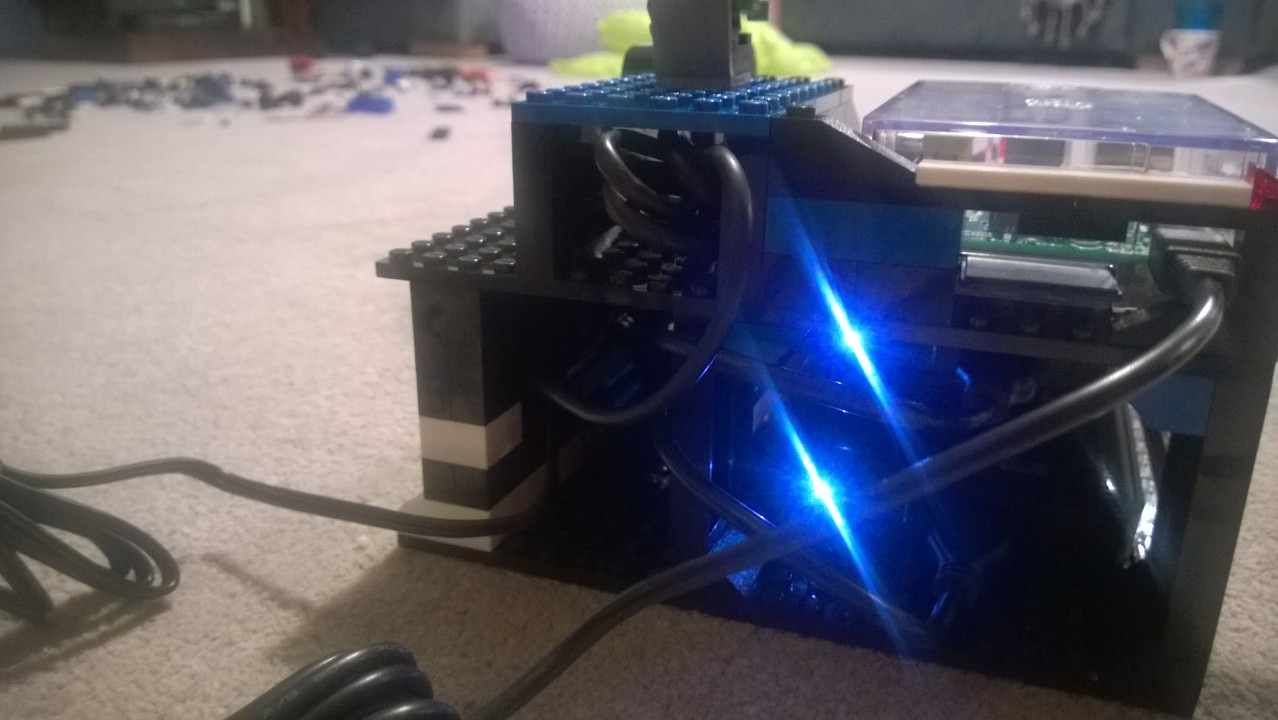
Rear view of the HDD bays, showing the cables looping round and through to the USB Hub. The cable tidy on top keeps the Pi to USB hub cable out of the way.
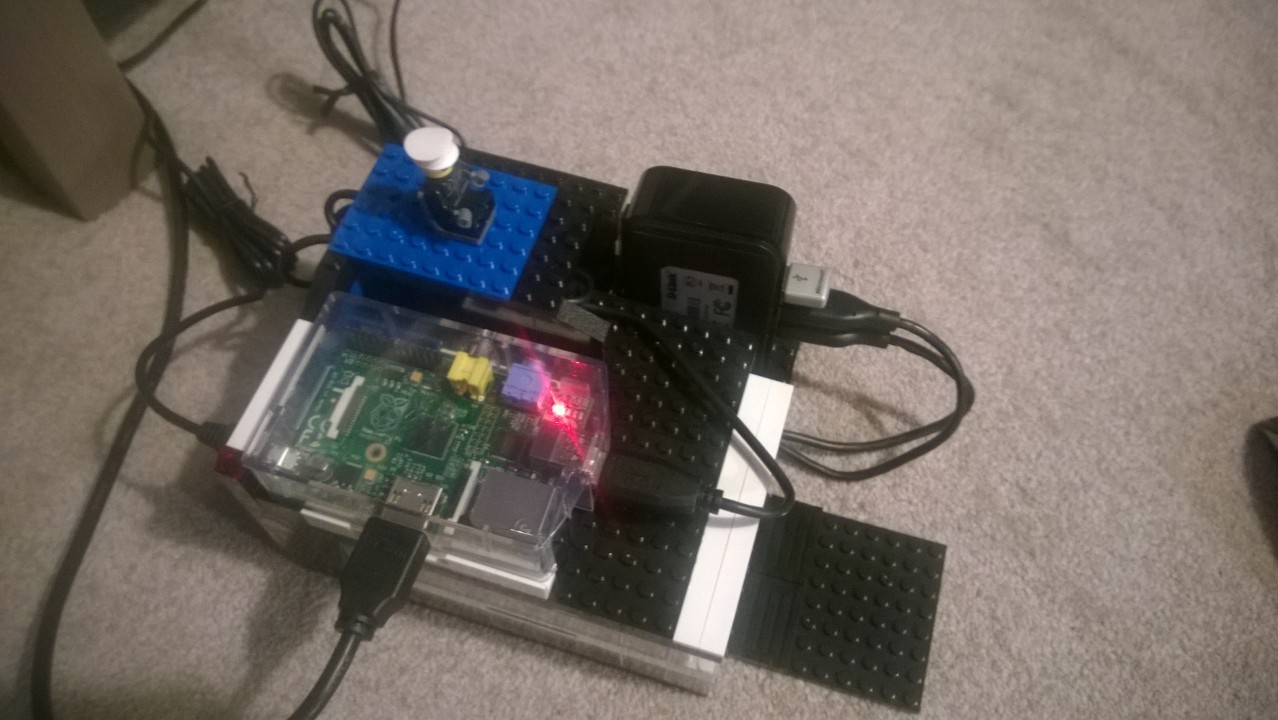
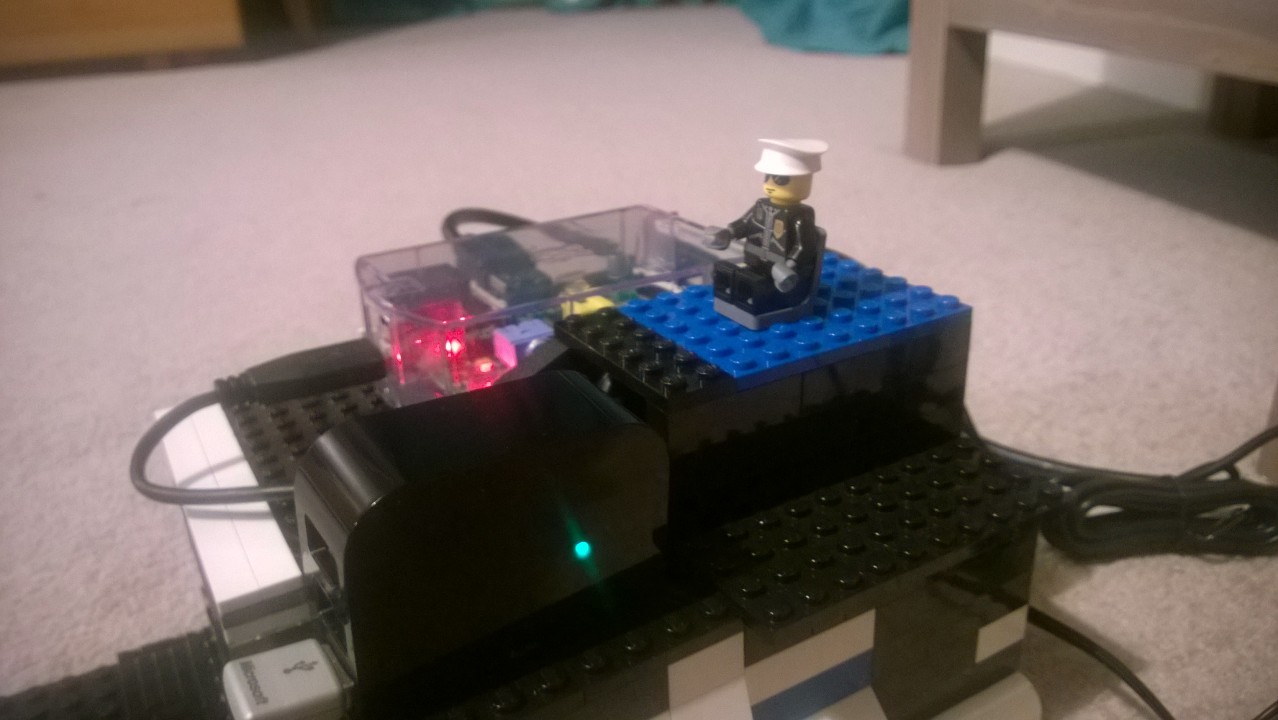
Top view showing the complete Lego NAS enclosure.
I got some pretty good feedback from people on my build (not bad for a first attempt, and with limited resources), so I thought I’d document the process and see if it could be of use to inspire any other aspiring Raspberry Pi builders.
Designing a Lego NAS enclosure/Raspberry Pi case
Rather than write my steps out by hand though, I came across an amazing bit of software from Lego themselves, the Lego Digital Designer.
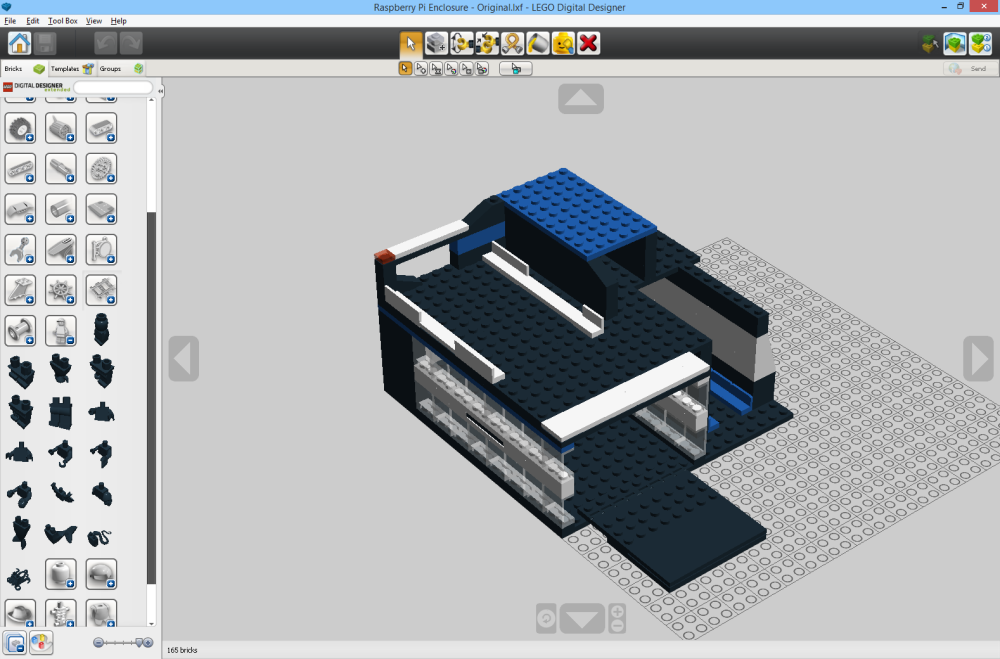
The Raspberry Pi NAS enclosure, modelled in Lego Digital Designer
This handy bit of kit lets you plan and build a 3D computer model of your Lego project using official Lego components, and then generate a list of all the blocks you used so you know what you need to buy. And to top it all off, it can turn your 3D model into a step-by-step instruction guide for how to build your model from scratch! I can’t overstate what an excellent piece of software this is, and so useful for anyone planning to build their own Raspberry Pi Lego project.
Ever so slightly annoyingly, the Police station kit I used was “faux Lego” (I can’t remember the brand name) and not the real McCoy. This meant that some of the bigger pieces came in sizes that genuine Lego don’t seem to have, so my model isn’t exactly what I built in reality, but is close enough. You can download my instruction guide and Lego Digital Designer (.lxf) file here (1.7MB), if you want to have a go yourself.
Conclusion
The flexibility of Lego, and the fact that you don’t need tools make it an ideal choice for building a case/enclosure for your Raspberry Pi. And those of a more technical persuasion can design their finished product beforehand using Lego’s excellent CAD tool. Of course, I absolutely love Lego anyway, it was my favourite toy as a kid, so I was delighted to be able to use it for “work”! I’m interested to see how other people have housed their Raspberry Pi, whether Lego-based or otherwise, so please show off your creations in the comments below!